Bit.ly for Drupal provides a rich API that other Drupal modules can use to access Bit.ly functionality. Today’s discussion topic is how we can integrate Bitly with Drupal 9 easily in just a few simple steps.
But first, what are the first three reasons that come to your mind for shortening a URL? Here's ours–
- To make more space for content to be posted on micro-blogging sites such as Twitter
- To mask the original URL
- To simply reduce the length of a super-long, ugly URL
Bitly has been our go-to URL-shortening service for a long time, and we love its efficacy and speed. For those of you who haven’t stumbled upon Bitly yet, Bitly is a link management platform that offers products and services on link shortening and more. It allows you to shorten URLs for your websites.
Getting Started - Bitly Integration with Drupal 9
Bitly allows for easy integration with your Drupal 9 website. Since there are no stable modules to integrate Bitly in Drupal 9, we will learn about how to call the Bitly API and create forms to integrate it. Here are some steps to get you started with it -
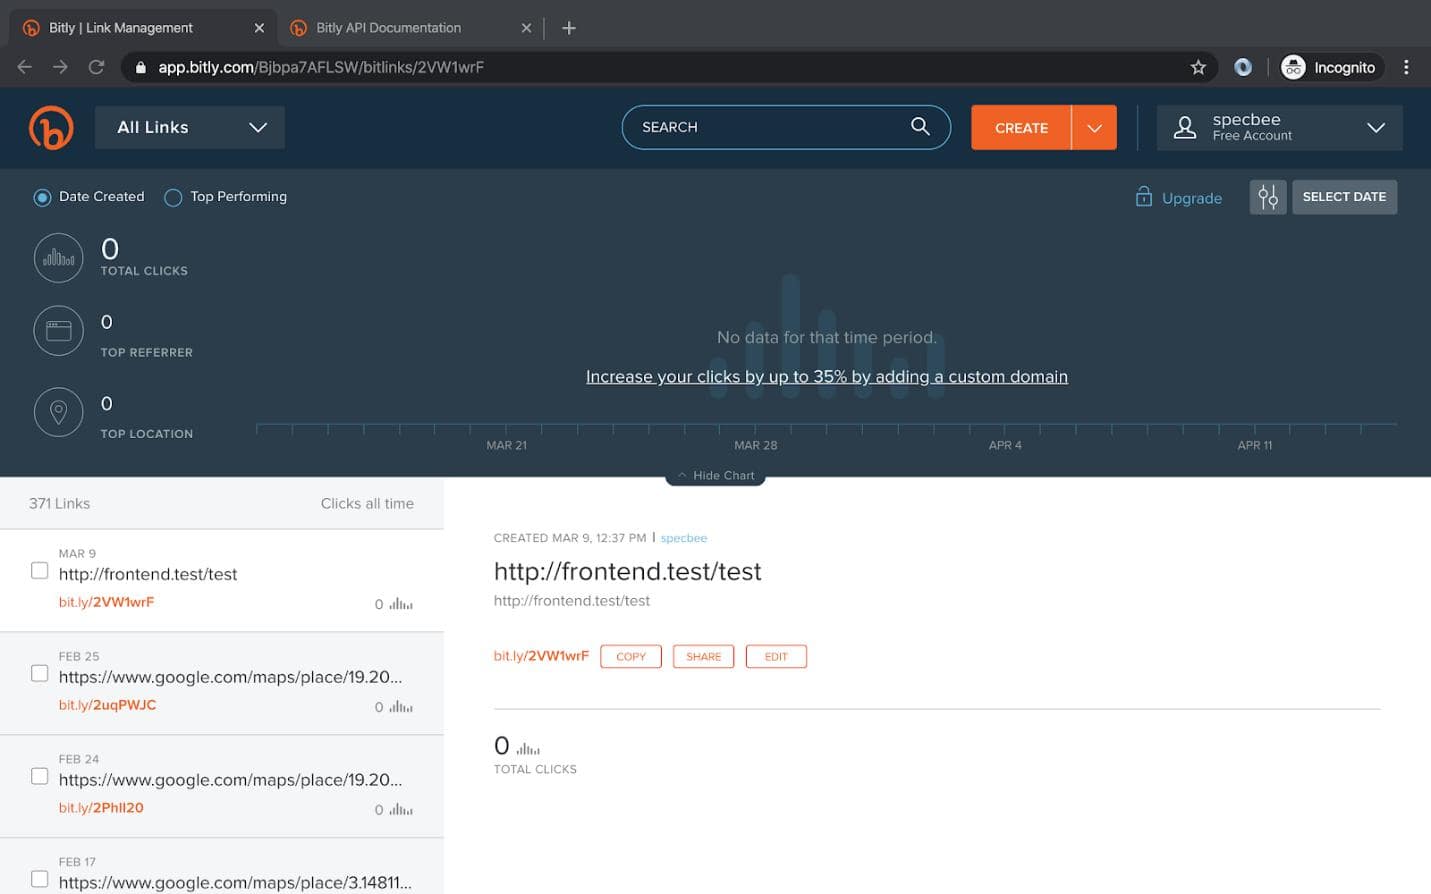
Step 1 – First, you need to create a Bitly account. Go to https://bitly.com/ and create an account. Then you need to login to your Bitly account.
You will then see your Dashboard page.
Step 2 - Next, click on the top-right side of the screen and go to ‘Profile Settings’
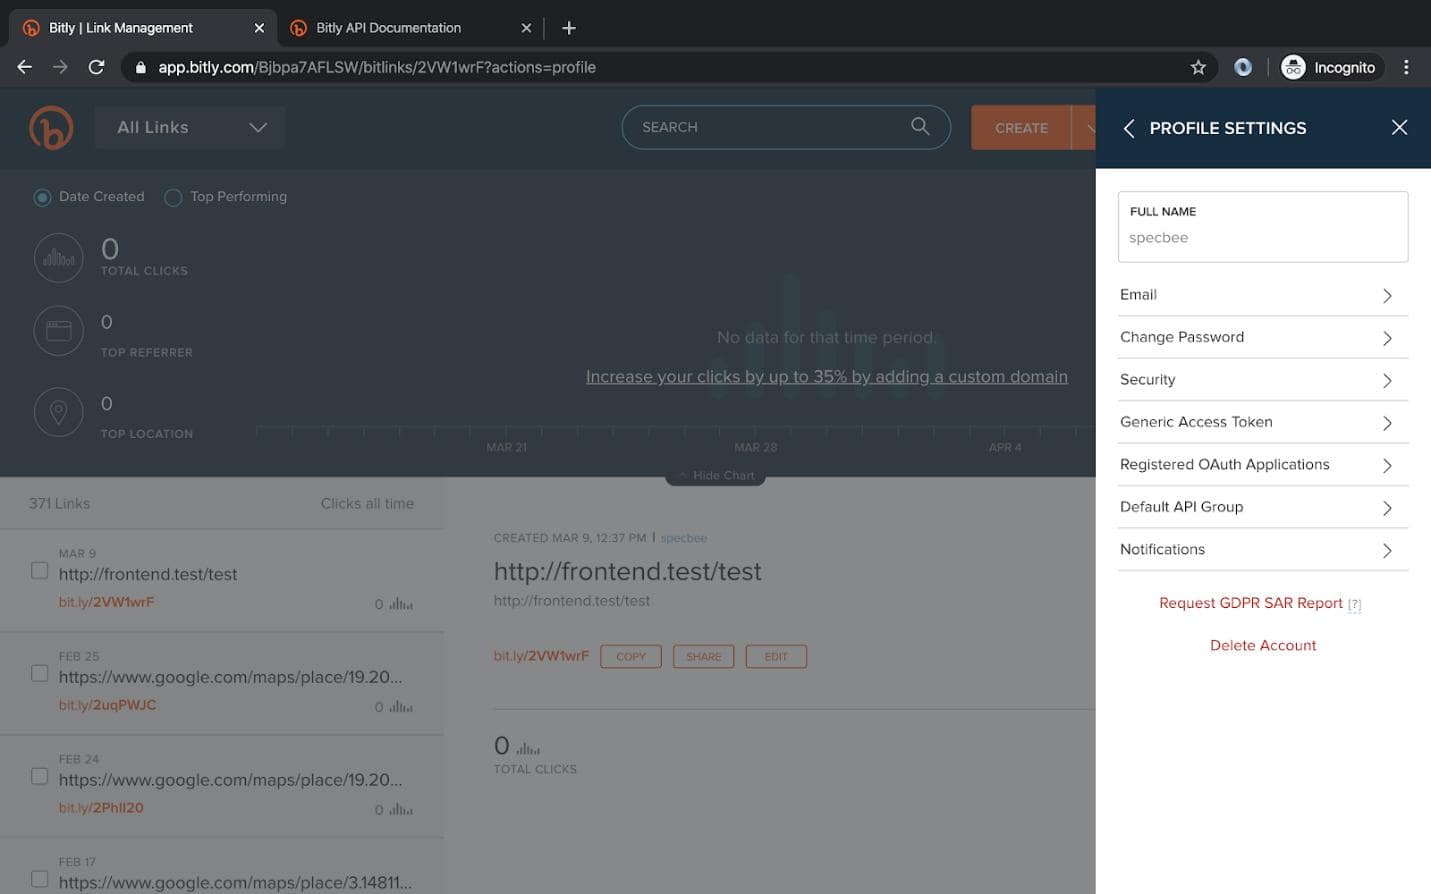
Go to Registered OAuth Applications -> Register New App -> Get Registration Code.
It will send you an email to the mail id you used to sign up.
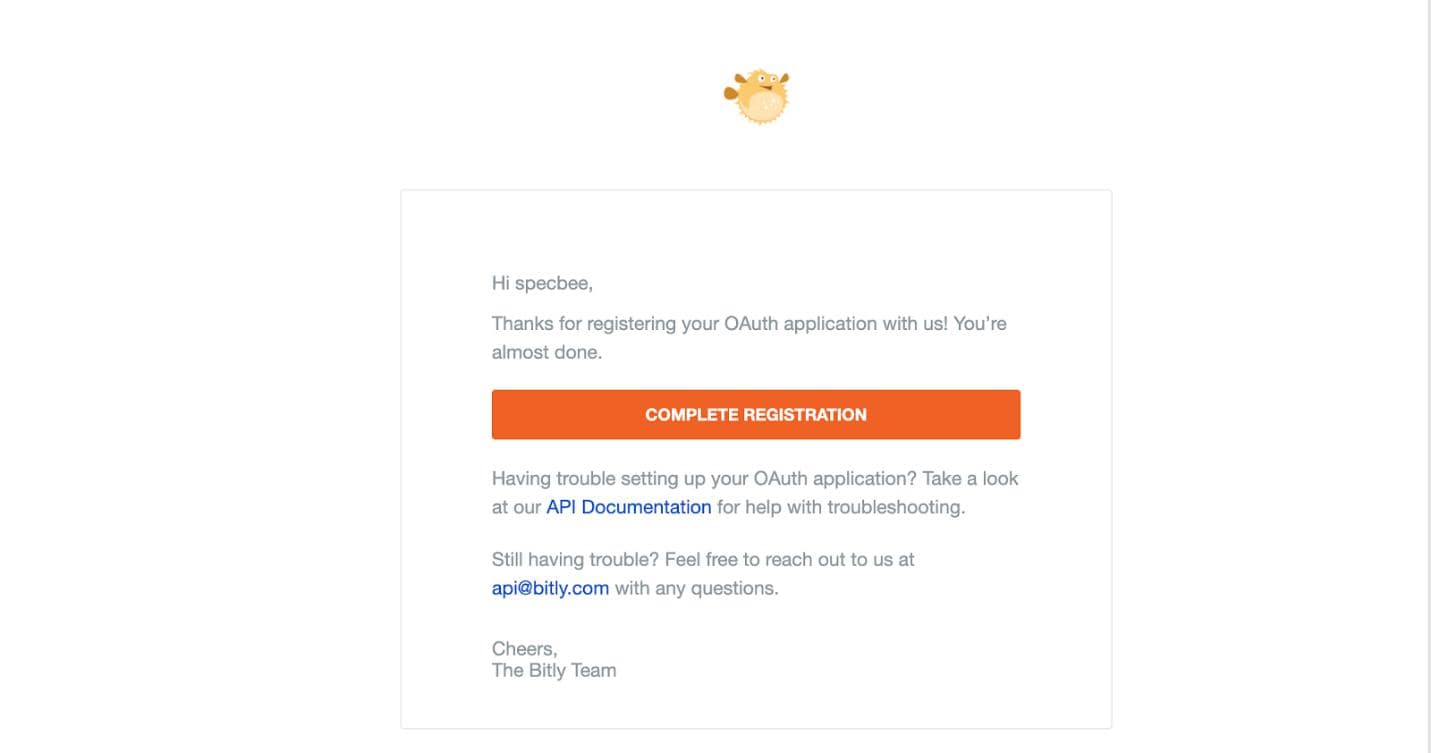
Step 3 - Click on Complete Registration. It will take you back to the Bitly website where you have to add the below details:
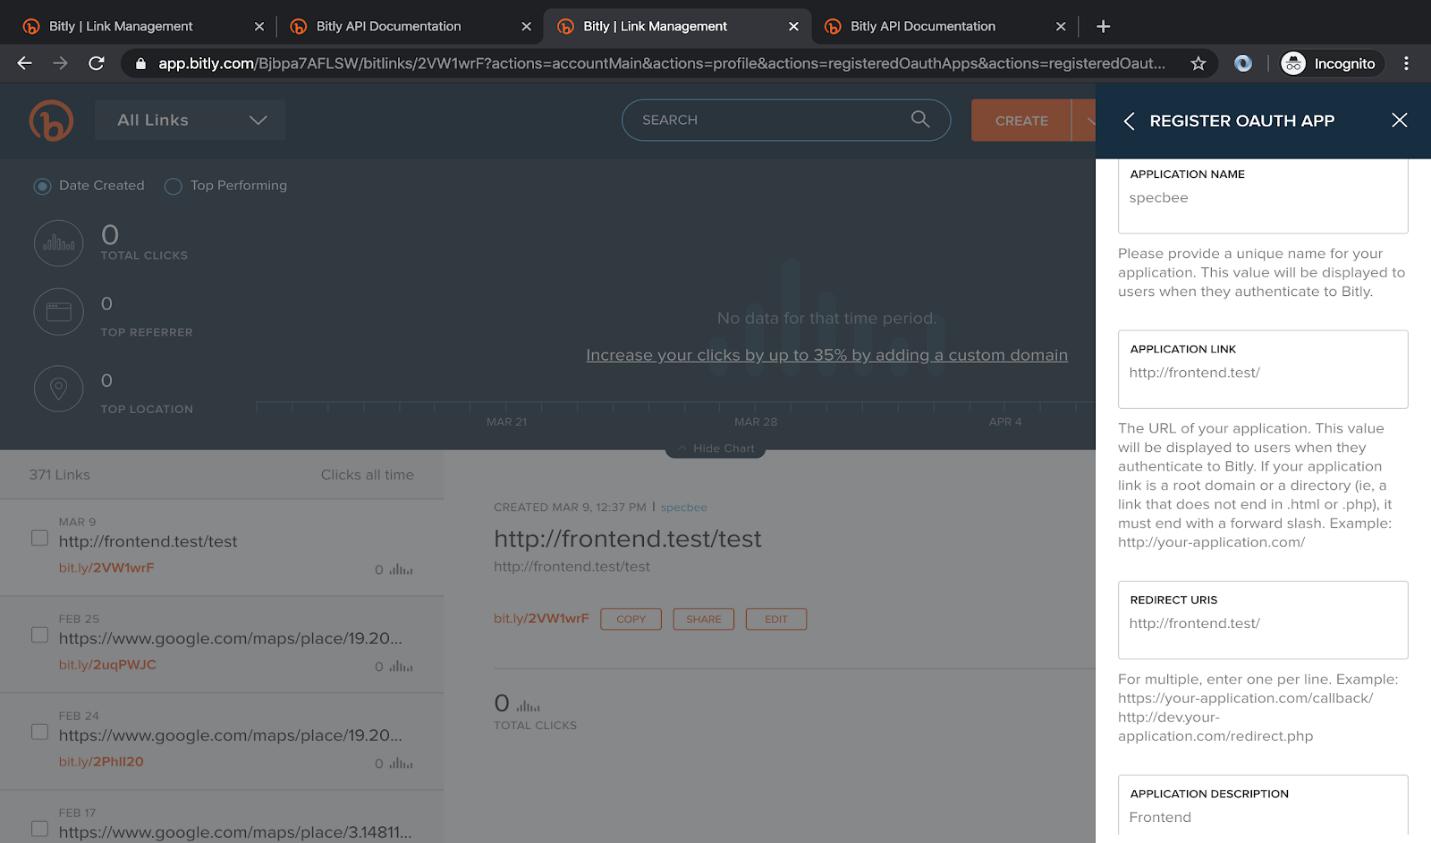
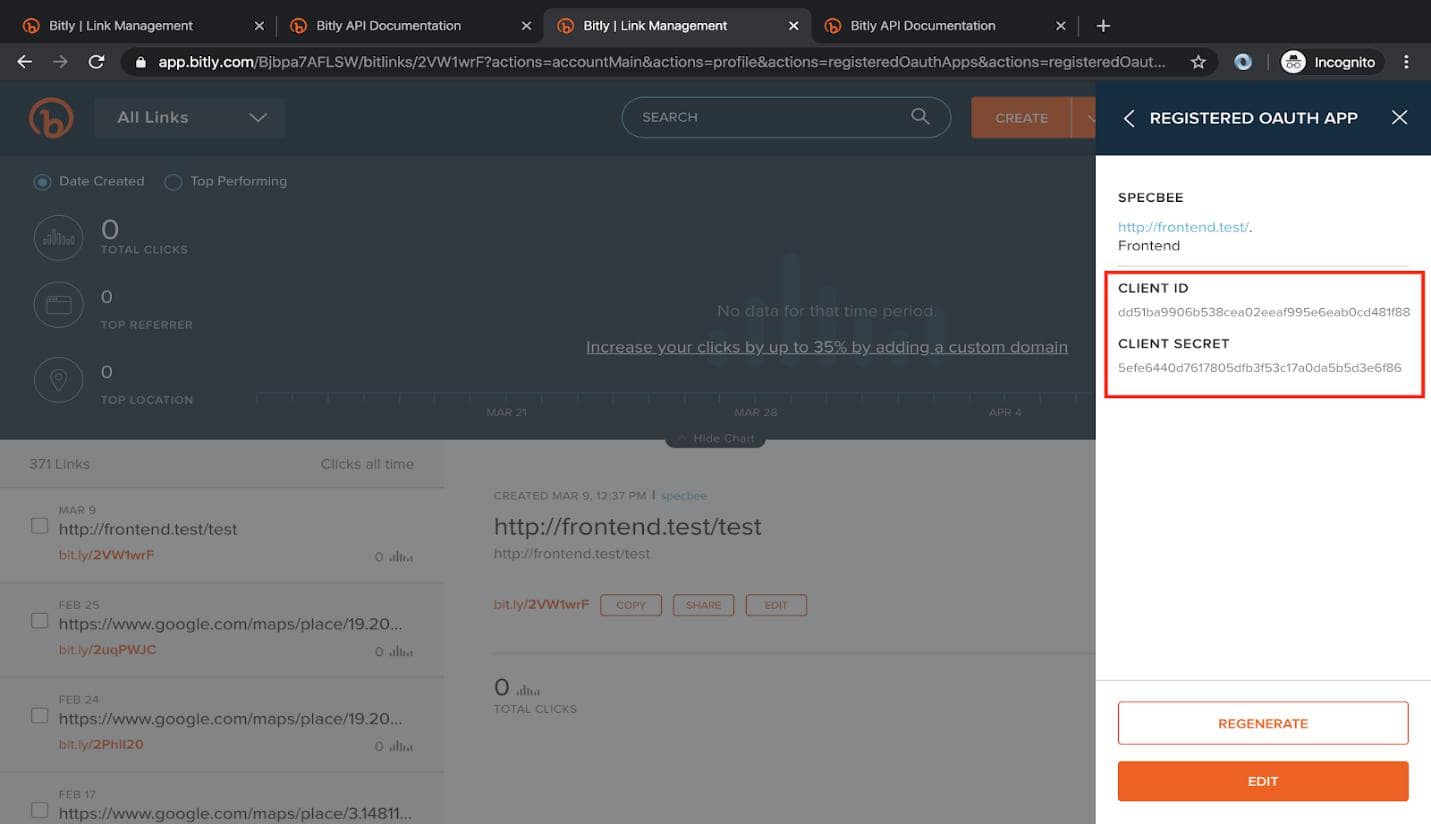
And Save this OAUTH App. Once saved, the ‘CLIENT ID’ and ‘CLIENT SECRET’ keys will be generated as shown below.
Step 4 - Next, go to your browser and enter this Url :
https://bitly.com/oauth/authorize?client_id={YOUR_CLIENT_ID}&redirect_uri={YOUR_WEBSITE-URL}
Once you hit this Url, it will redirect to {YOUR_WEBSITE_URL}?code={YOUR_CODE} . Copy this code and paste it somewhere safe so it's not lost.
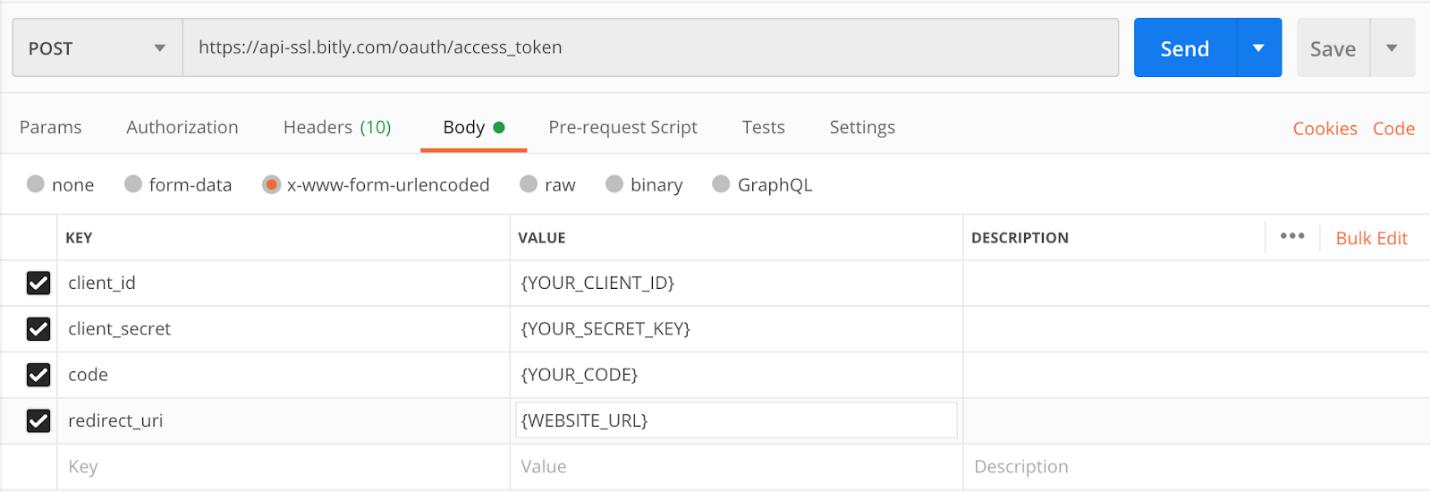
Step 5 – Next, you have to use POSTMAN to call the API or you can also use the CURL command. Learn more about how the Postman tool can help you with API development and API testing.
The method will be POST, Url is api-ssl.bitly.com/oauth/access_token and parameters will be client_id, client_secret, code, redirect_uri.
When you hit this API, it will return the following –
access_token=TOKEN&login=BITLY_LOGIN&apiKey=BITLY_API_KEY
access_token - The OAuth access token for specified user
login - The end-user’s Bitly username
apiKey - The application key which will be used
This login and apiKey values should be stored and can be integrate with your Drupal modules.
Implementing the Integration
Now let us learn to create a custom form for integrating your Drupal 9 site with Bitly.
bitlyForm.php
<?php
namespace Drupal\bitly\Form;
use Drupal\Core\Form\ConfigFormBase;
use Drupal\Core\Form\FormStateInterface;
/**
* Class bitlyForm.
*
* @package Drupal\bitly\Form
*/
class bitlyForm extends ConfigFormBase {
 /**
  * {@inheritdoc}
  */
 protected function getEditableConfigNames() {
return ['bitly.shorten_url'];
}
 /**
  * {@inheritdoc}
  */
 public function getFormId() {
 return 'bitly_shorten_url_configuration_form';
 }
 /**
  * {@inheritdoc}
  */
 public function buildForm(array $form, FormStateInterface $form_state) {
  $config = $this->config('bitly.shorten_url');
   $form['configuration'] = [
     '#type' => 'fieldset',
     '#title' => $this->t('Configuration'),
   ];
   $form['configuration']['login_name'] = [
     '#type' => 'textfield',
     '#title' => $this->t('Login Name'),
     '#default_value' => $config->get('login_name'),
     '#required' => TRUE,
   ];
   $form['configuration']['app_key'] = [
     '#type' => 'textfield',
     '#title' => $this->t('Application Key'),
     '#default_value' => $config->get('app_key'),
     '#required' => TRUE,
   ];

   return parent::buildForm($form, $form_state);
 }
 /**
  * {@inheritdoc}
  */
 public function submitForm(array &$form, FormStateInterface $form_state) {
   $this->config('bitly.shorten_url')
     ->set('login_name', trim($form_state->getValue('login_name')))
     ->set('app_key', trim($form_state->getValue('app_key')))
     ->save();
   parent::submitForm($form, $form_state);
 }
}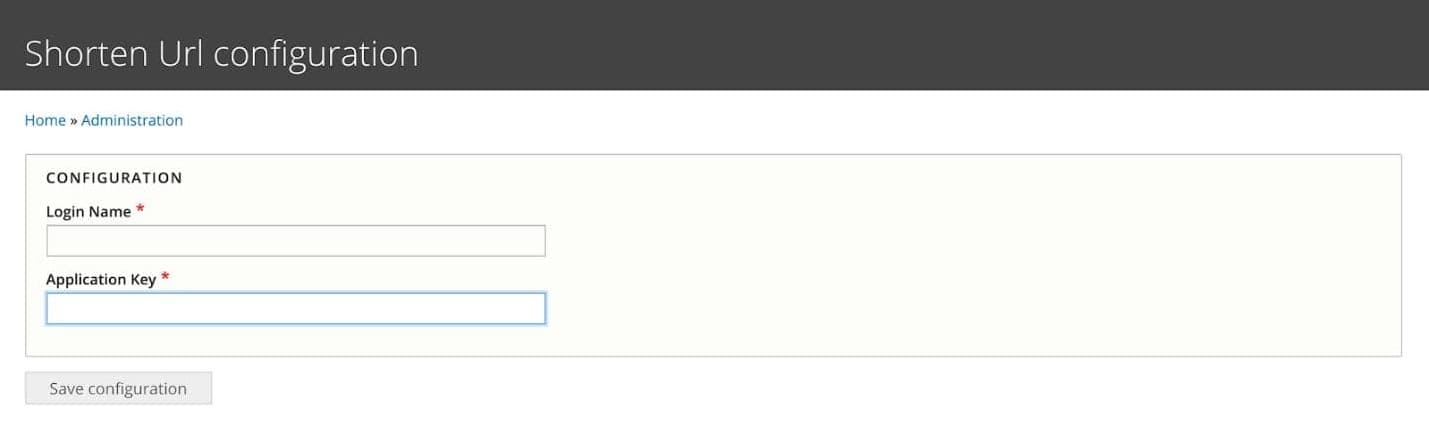
Add the Login name and Application Key that you have generated and stored previously.
Now, let’s create a function to integrate your Drupal 9 website with Bitly.
/**

* Generate Shorten Url.

*

* @param string $url

*   The url.

* @param string $login

*   The login name.

* @param string $appKey

*   The api key.

*

* @return string

*   Returns bitly url.

*/

public static function makeBitlyUrl($url, $login, $appKey) {

 // Create the URL.

 $bitly = ‘http://api.bit.ly/shorten?version=2.0.1&longUrl=’. urlencode($url) . '&login=' . $login . '&apiKey=' . $appKey . '&format=xml';

 // Get the url

 // could also use cURL here.

 $response = file_get_contents($bitly);

 // Xml.

 $xml = simplexml_load_string($response);

 return 'https://bit.ly/' . $xml->results->nodeKeyVal->hash;
Let’s now call the makeBitlyUrl function to generate the Bitly Url.
$config = \Drupal::config(‘bitly.shorten_url');

$bitlyUrl = (string) makeBitlyUrl('https://www.example.com', $config->get('login_name'), $config->get('app_key'));
You will now get the integrated Bitly Url in the $bitlyUrl variable.

Admin
Related Insights


Don't Miss Out!


