Table of contents
- What is Captcha and ReCaptcha?
- How to use the Drupal Captcha module
- Download and Enable the Drupal 8 Captcha module
- Configure the Captcha module
- Adding the description to the Captcha for the visitor
- Set validation and persistence
- Permissions
- Implementing the Drupal 8 ReCaptcha module
- Download and Enable the Drupal 8 ReCaptcha module
- Configure the ReCaptcha module
Have you had enough of the spam comments, form submissions and email submissions by bots trying to infiltrate your website? Then you need a guard called Completely Automated Public Turing test to tell Computers and Humans Apart. Yes, and that is short for CAPTCHA. As annoying as it may be making us prove time and again that we are not bots, Captcha and ReCaptcha are the most effective against fighting automated programs trying to get into our websites. The Drupal Captcha and the Drupal ReCaptcha modules are extremely helpful in protecting your Drupal website against spambots and used widely in user webforms and other regions of a web page where user inputs are required. Let’s learn more about Drupal 8 Captcha and ReCaptcha and how to implement the modules in your Drupal 8 website.
What is Captcha and ReCaptcha?
When we try to login to or register on a website, we are sometimes asked to identify and type the distorted numbers and letters into a provided box. This is the Captcha system. Captcha helps us to verify whether the visitor of your site is an actual human or a bot. ReCaptcha does the same in terms of protecting your website from spam except that it makes it tougher for spambots and more user friendly for humans.
How to use the Drupal Captcha module
The Drupal 8 Captcha module is an easy to use module largely used in forms to identify if the user is a human or a bot. The Drupal Captcha module is also compatible with Drupal 9. Let’s get started with installing and using the Captcha module in Drupal 8.
Download and Enable the Drupal 8 Captcha module
Download the Drupal Captcha module from here and enable it. To enable the module, go to Extend and in the spam control category, you will find the CAPTCHA option. Click on the checkbox and then click install.
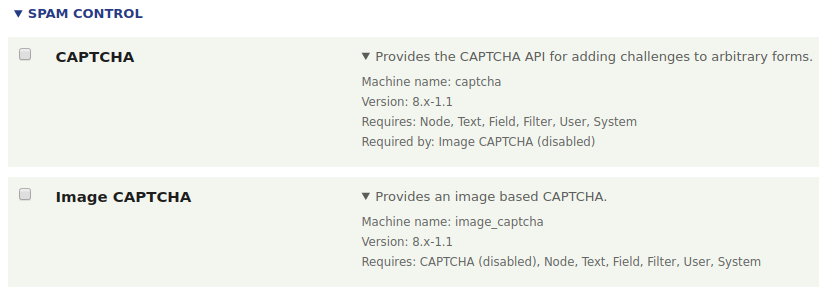
Enable both Captcha and Image Captcha. Image captcha provides an image-based captcha.
Configure the Captcha module
After installing the Drupal Captcha module, we must configure the module as per our requirements.
To configure the module, go to Configuration > People > CAPTCHA module settings.

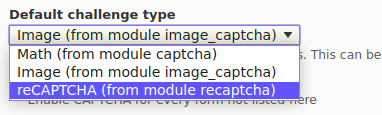
Select the Default challenge type. This type is used on all the forms. You can change the type for an individual form. This module has two built in types -
-
Math : This will provide a simple math problem to the user to solve.
-
Image : It provides an image of a word that can’t be read by bots.
The example of this type is given in the CAPTCHA examples tab on the same page.
To change the type for an individual form, go to Form Settings tab on the same page. Here we can see the list of forms in the site. Click on the enable button to enable the captcha to form.

To change the challenge type to a particular form, click on the down-arrow and click edit.
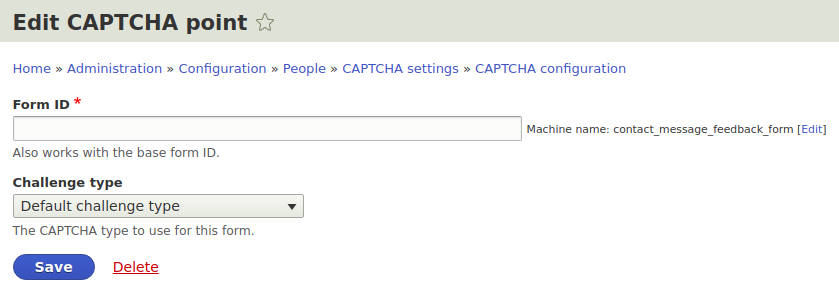
Give the form ID for which you want to change the challenge type and can change the type in the dropdown provided under challenge type.
This is not required unless the structure of the form does not change.
Adding the description to the Captcha for the visitor
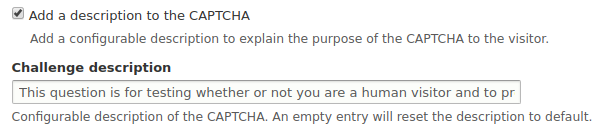
Click on the checkbox to show the Challenge description box. This is not visible by default. Just click the checkbox, the description is already written. This description is editable and can display any message of your choice to the visitor.
Set validation and persistence
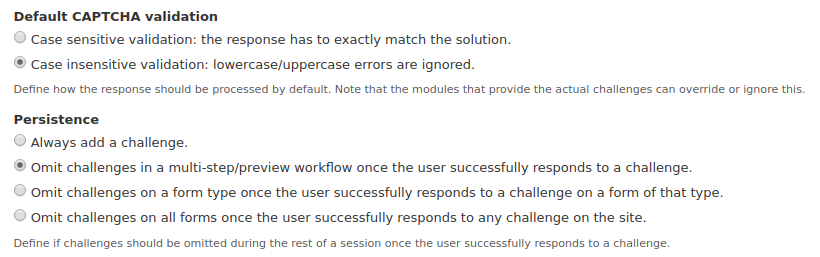
These are some of the features to the validation of the captcha. Here, we can make the validation difficult by requiring case sensitive validation. We can also change the appearance of the challenges. The second option under persistence makes the process simple for the visitor by hiding the challenge once the visitor is logged in and successfully completes the challenge.
Permissions
The captcha can be controlled by giving permissions.
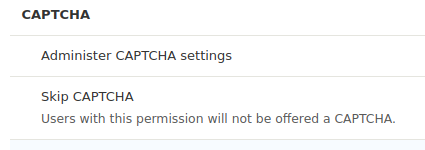
One can change the captcha settings who has the Administer CAPTCHA settings permission. Those who have the skip CAPTCHA permission are not given any challenge. To test the captcha the user should not have the skip CAPTCHA permission. Administrators cannot test as they have this permission by default.
Implementing the Drupal 8 ReCaptcha module
The Captcha works as required, but there are some drawbacks to this. It is not user-friendly to visitors with visual disabilities. Reading distorted numbers and letters can be annoying to regular users. This may end up with the user not getting a chance to enter the site.
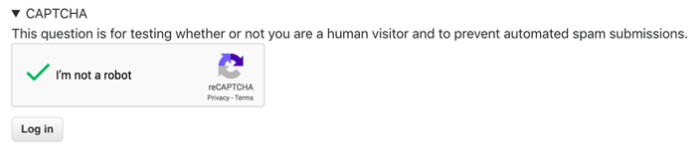
The solution for this problem is the Drupal ReCaptcha module. The Drupal ReCaptcha module uses Google reCAPTCHA to improve the captcha system.
Download and Enable the Drupal 8 ReCaptcha module
Download the Drupal ReCaptcha module from https://www.drupal.org/project/recaptcha and enable it.

Configure the ReCaptcha module
After installing the Drupal 8 ReCaptcha module, go to Configuration > People > CAPTCHA Module Settings.
Select ReCaptcha in Default challenge type and click save configuration. After saving, go to ReCaptcha tab on the same page.
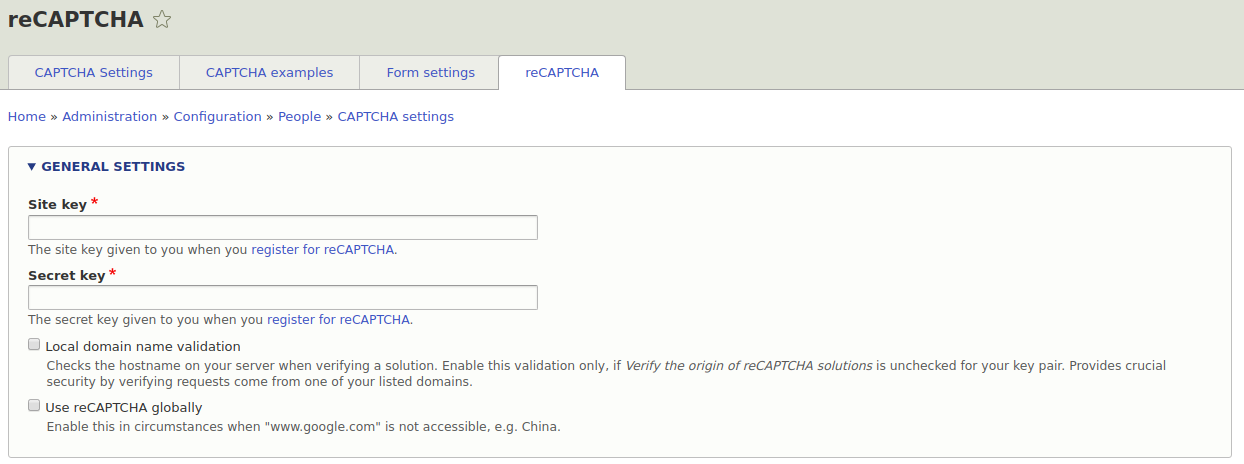
As the ReCaptcha uses Google ReCaptcha service, the site key and the secret key is required to use the Drupal ReCaptcha module. These keys are given by google once we register our site in google ReCaptcha. To register click on the register for reCAPTCHA link.
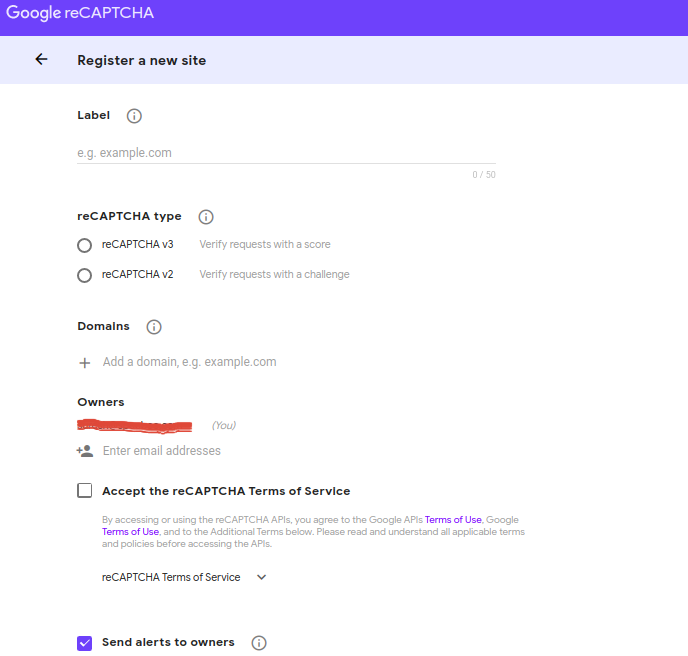
Once we click on it, we will see this form. We have to provide some information such as domain name, type of ReCaptcha. Accept the Terms of Service before clicking on submit. After the submission, you will get the site key and secret key. Enter it in the reCAPTCHA tab.
Choose which form you would like to use ReCaptcha. And then test the form.
If you want to test it in a local environment disable the domain name validation in reCAPTCHA configuration in google. You have now successfully implemented the Drupal ReCaptcha module.

Suresh Prabhu
Related Insights


Don't Miss Out!


