Table of contents
Drupal 8 has thousands of contributed modules meant to make the lives of Content editors easier. The Focal point module in Drupal 8 is one such module that we are focusing on today.
Content editors spend a big chunk of their time on editing images. Unless they are also experts in Photoshop, cropping and resizing could get messy sometimes. Simply cropping out an image to fit well on the screen might seize the importance out of it. Drupal offers many interactive means to crop and resize images but they don’t provide the flexibility that the Focal Point module offers. The Drupal focal point module allows for smart cropping while focusing on the important part of the image.

Installation of the module
Step 1: Install the focal point module using the composer. Use the command “composer require drupal/focal_point”.
Step 2: Enable the Drupal focal point module.
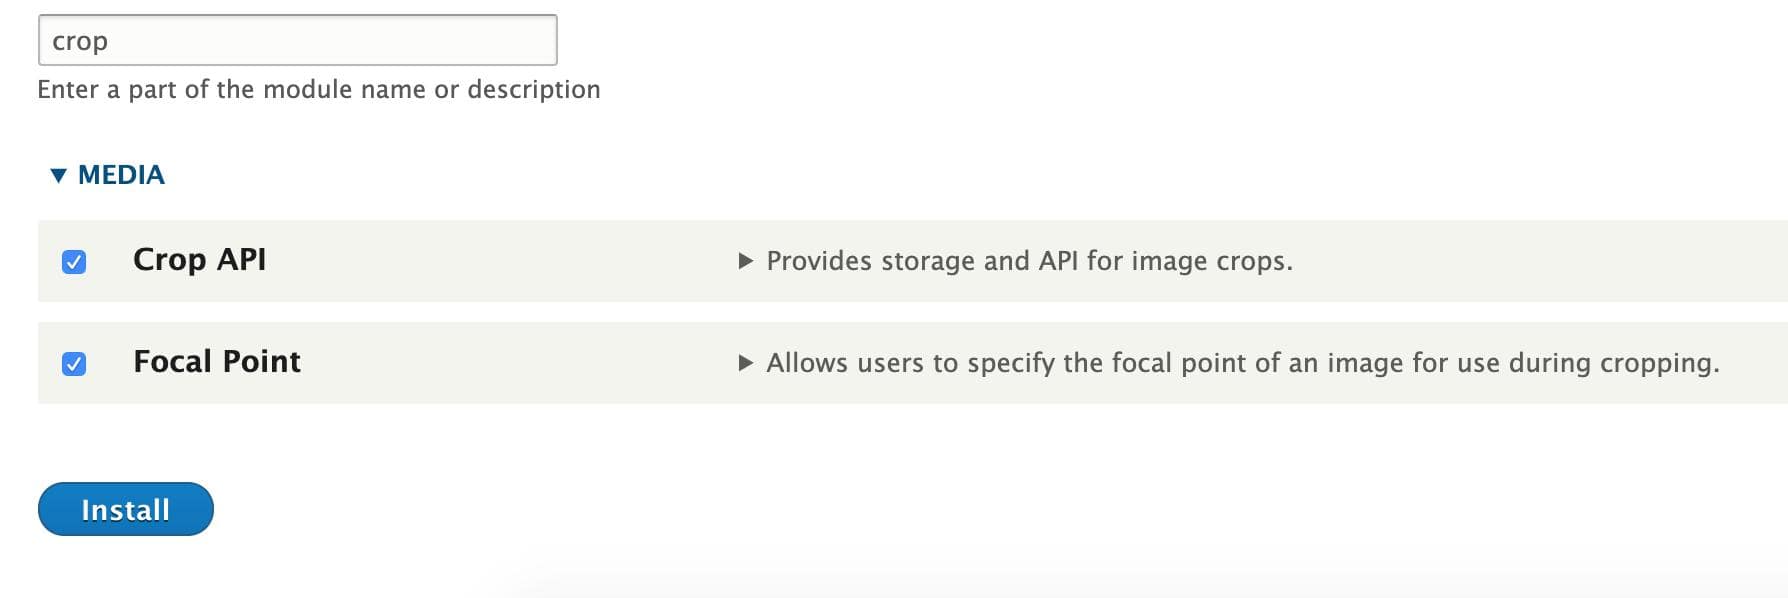
The drupal image styles module (Focal point module )can be enabled through front-end or with the help of the composer, which also enables its dependency modules.
Working of Focal Point Module:
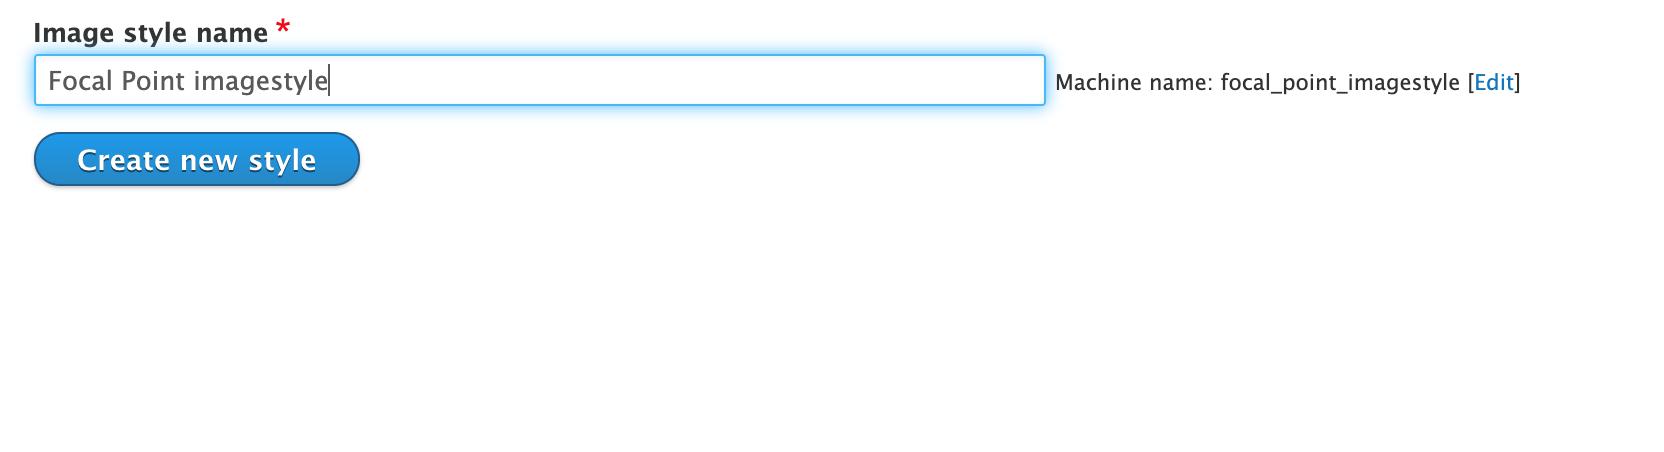
Step 1: Create Image styles for the focal point image.
Go to the path Configuration-> Media -> Image styles to create your custom image style.
Step 2: Select the effect to your image style.
Select, Focal Point Scale and Crop option from the drop-down menu.
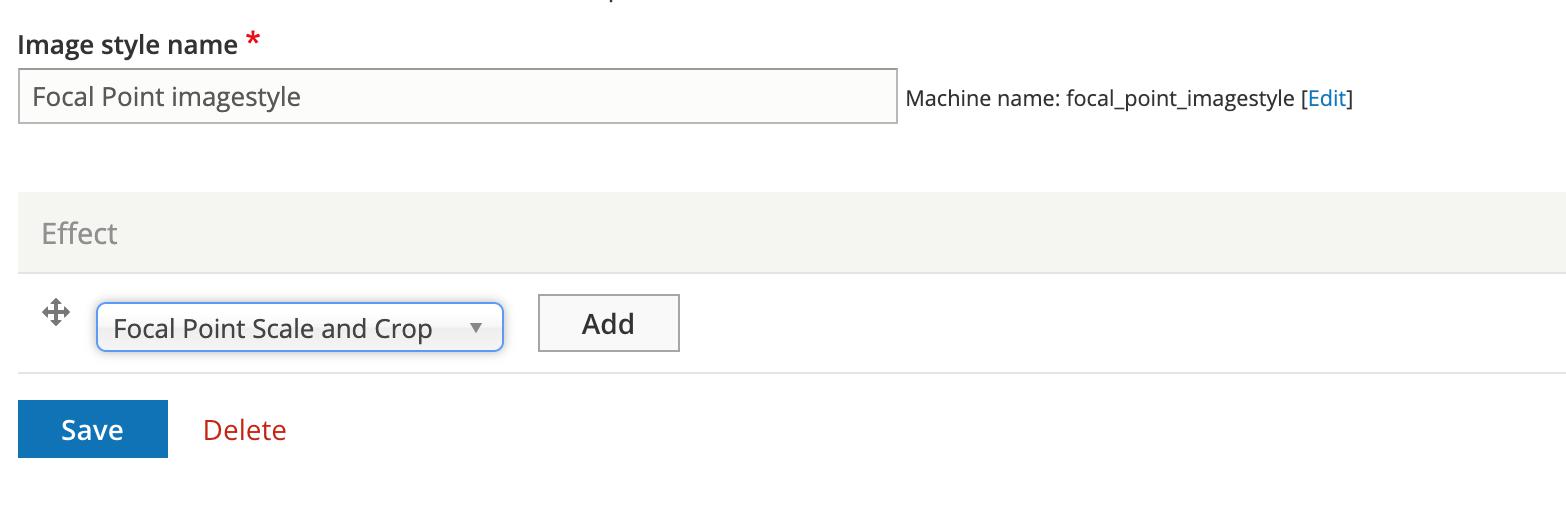
Step 3: Give image Height and Width for smart cropping.
After the effect is added to the image style, an option to add the width and height of the image is offered. This is basically the width and the height to which the image should be cropped.

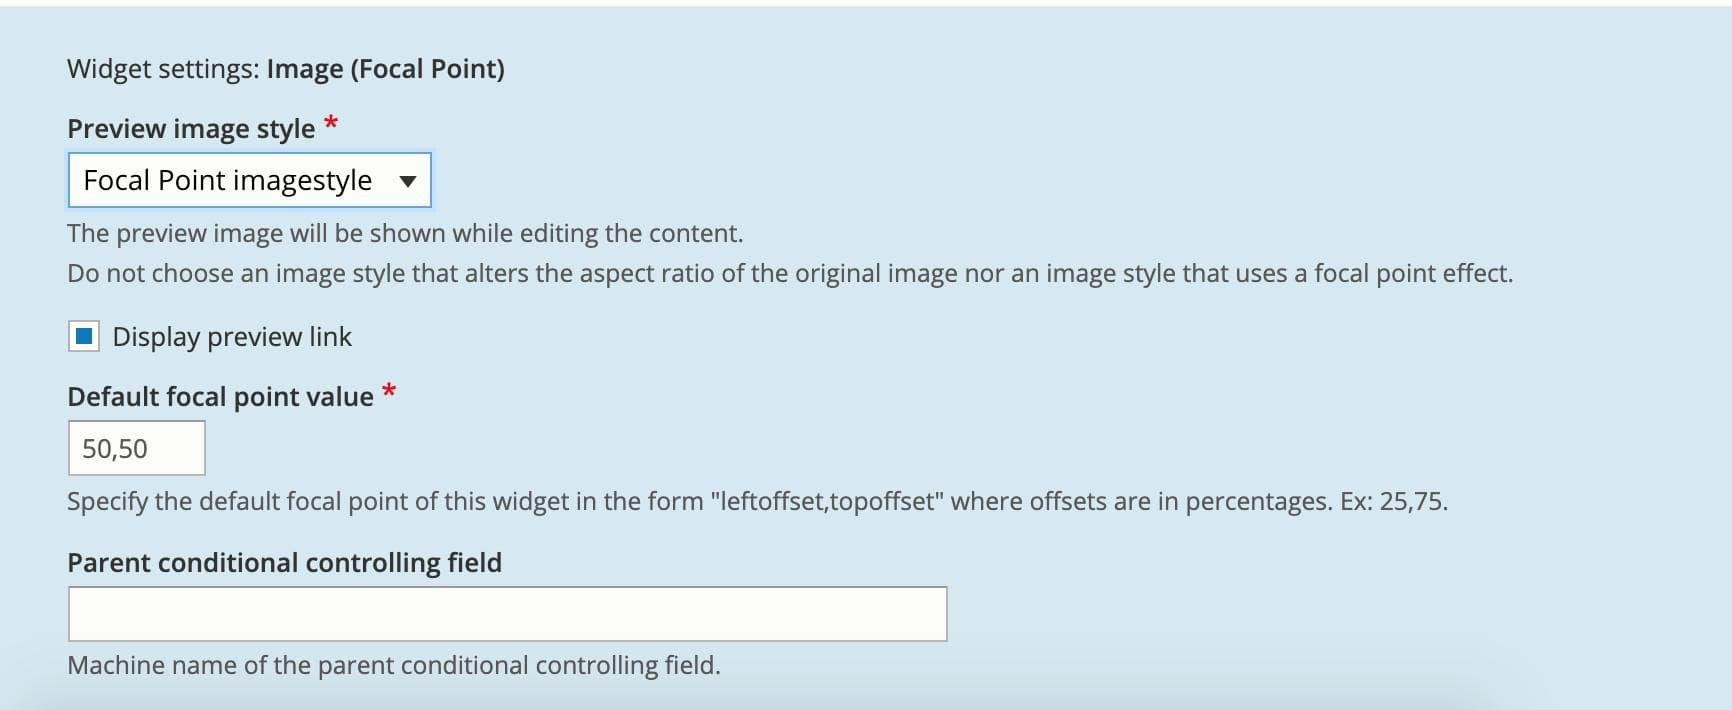
Step 4: Selecting widget type in Manage form display.
After creating the image style, navigate to manage form display of the field, and select “Image (Focal Point Image)”.

In the focal point image widget settings, select the custom image style which you have created.
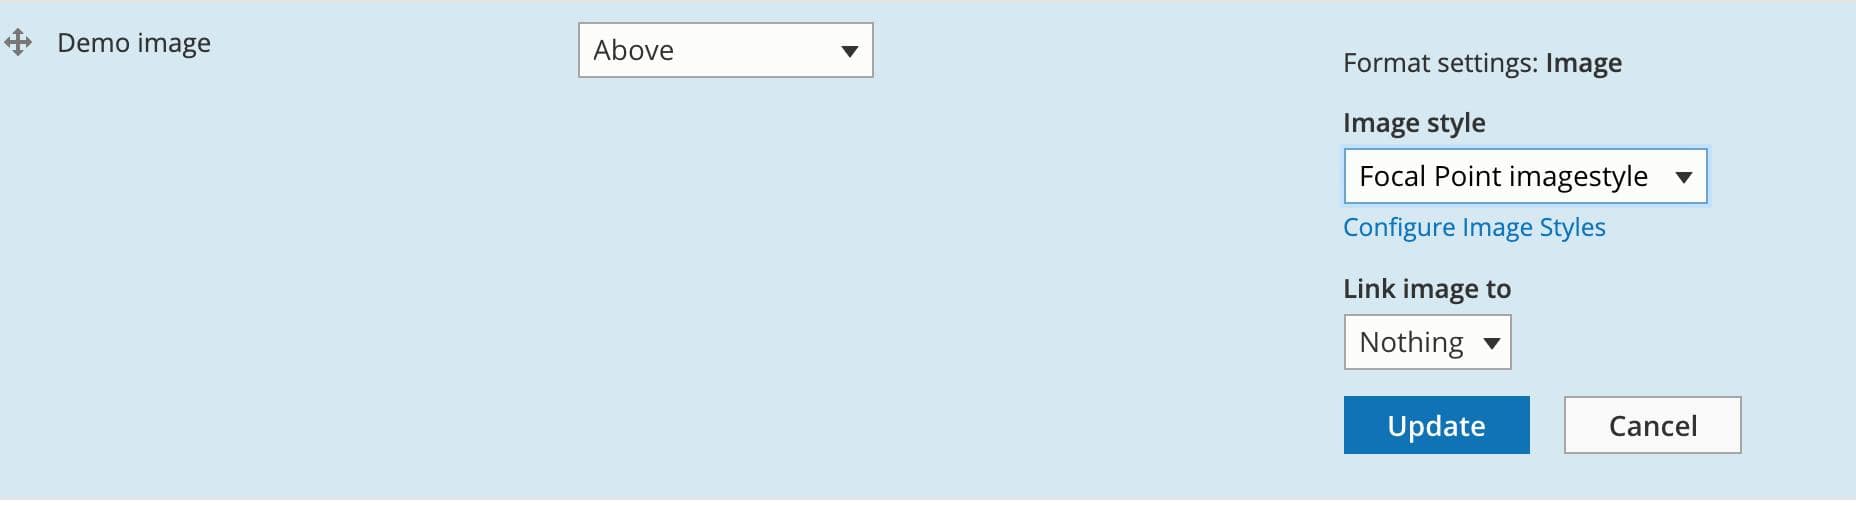
Step 5: Selecting image style in format settings of Manage display.
Under manage display, navigate to the format setting of your focal point image field and select the image style which you have created.
After completing all these steps, you will be able to add content to a content type. Once the image is uploaded, a plus(+) mark appears at the center of the image. Also, a preview button will be displayed below the image.
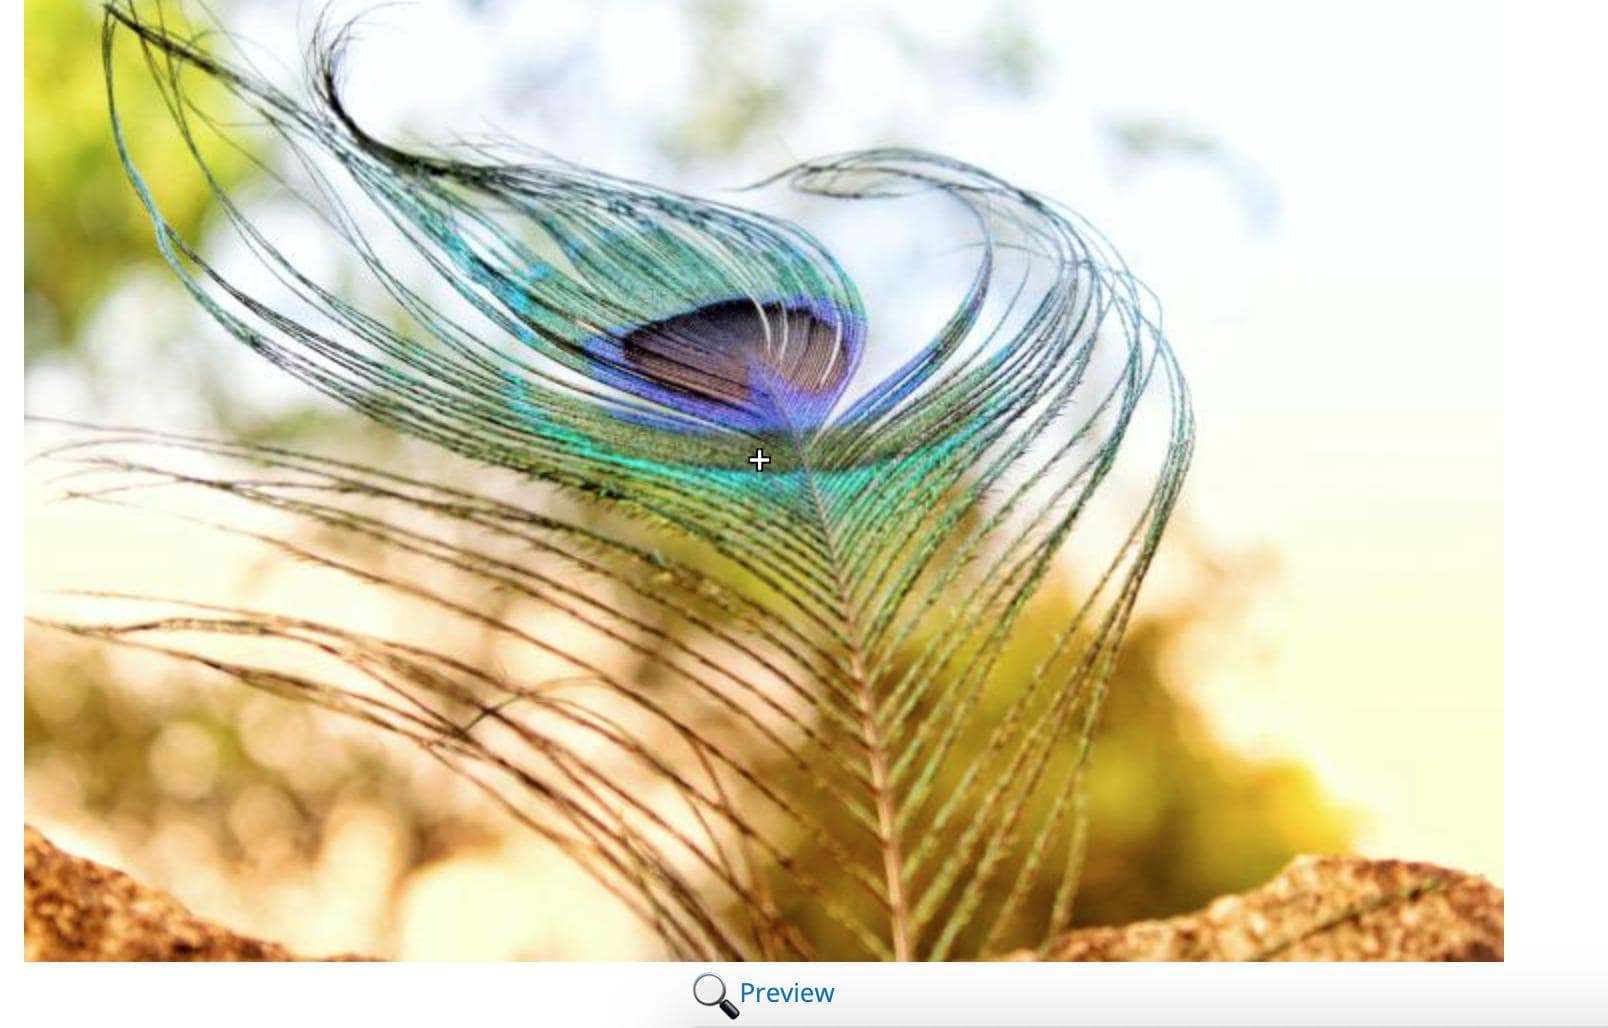
In the above image, you can see the plus symbol, and also the preview button. If you click on preview, you will be redirected to the preview of the cropped image.
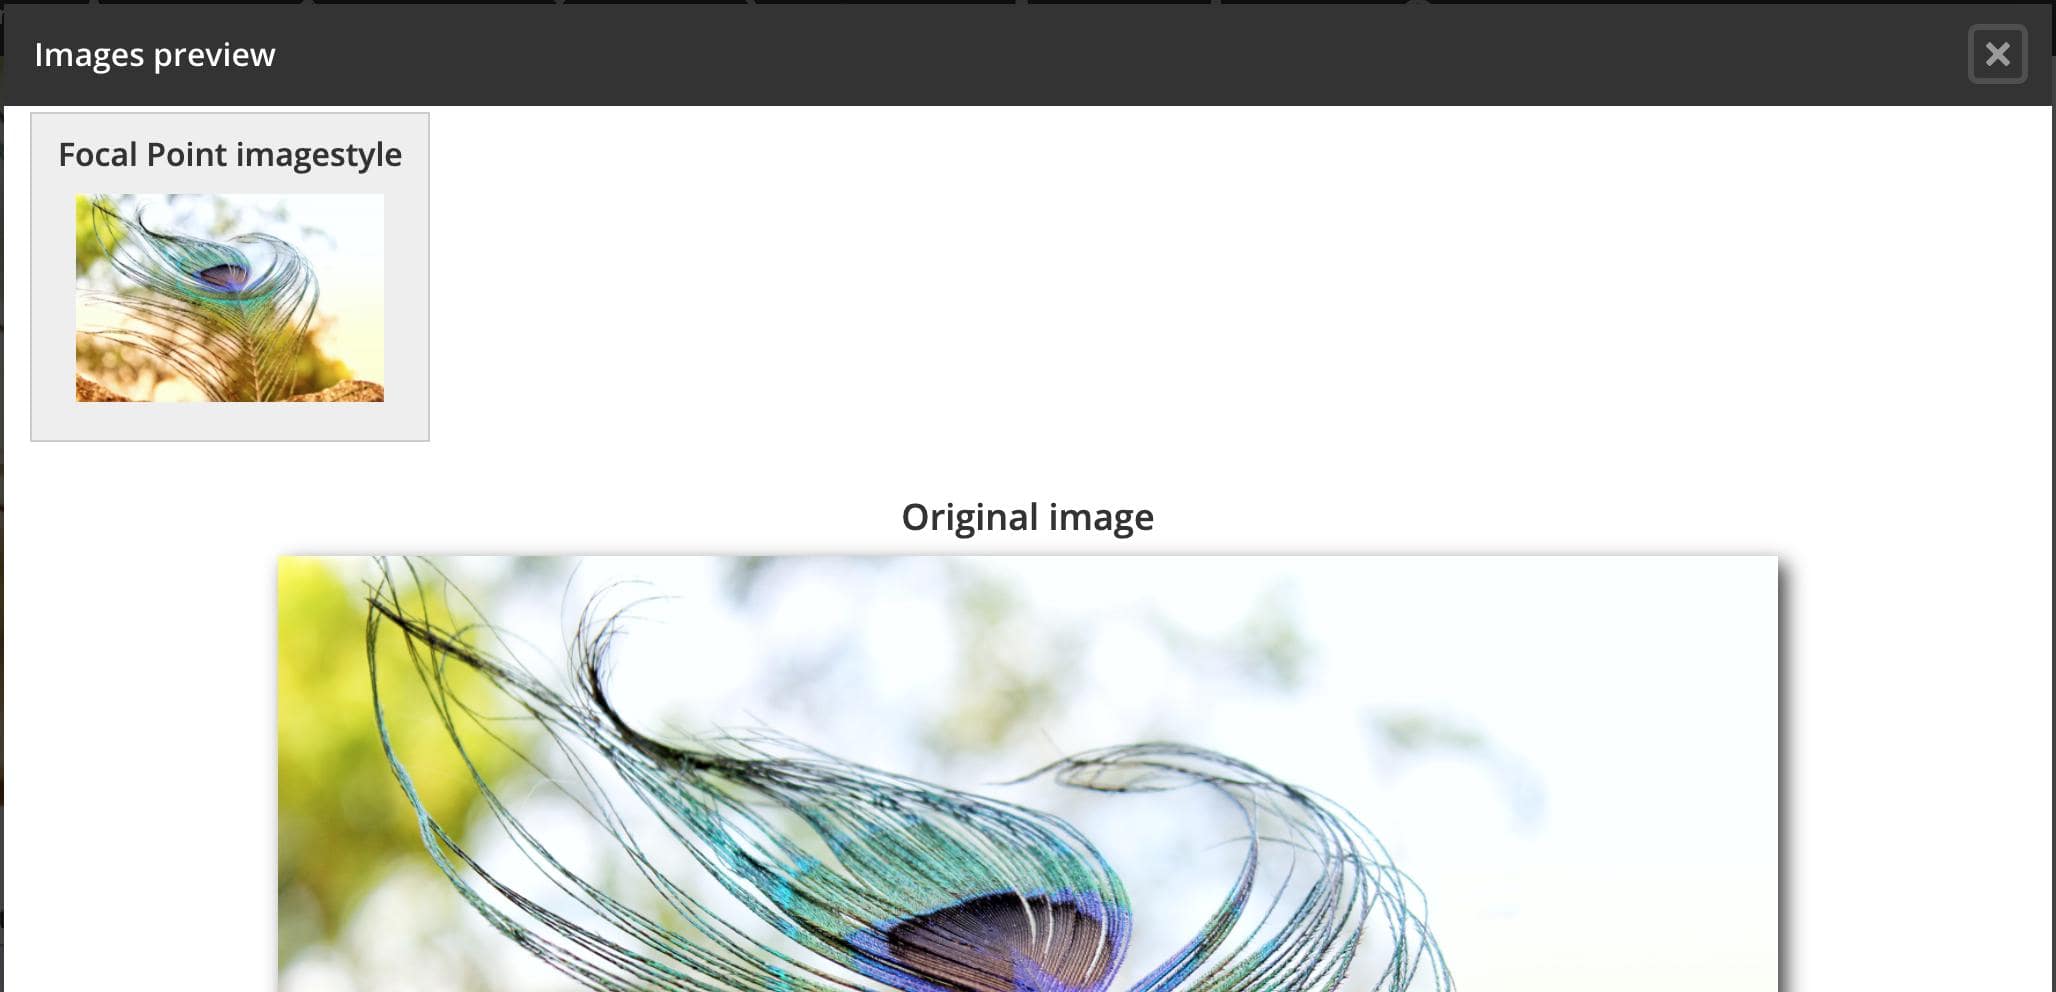
Initially, the original image is of a bigger size and once the image style is selected, the preview of your image is displayed. You can also change the crop section by moving the plus(+) mark anywhere on the image.
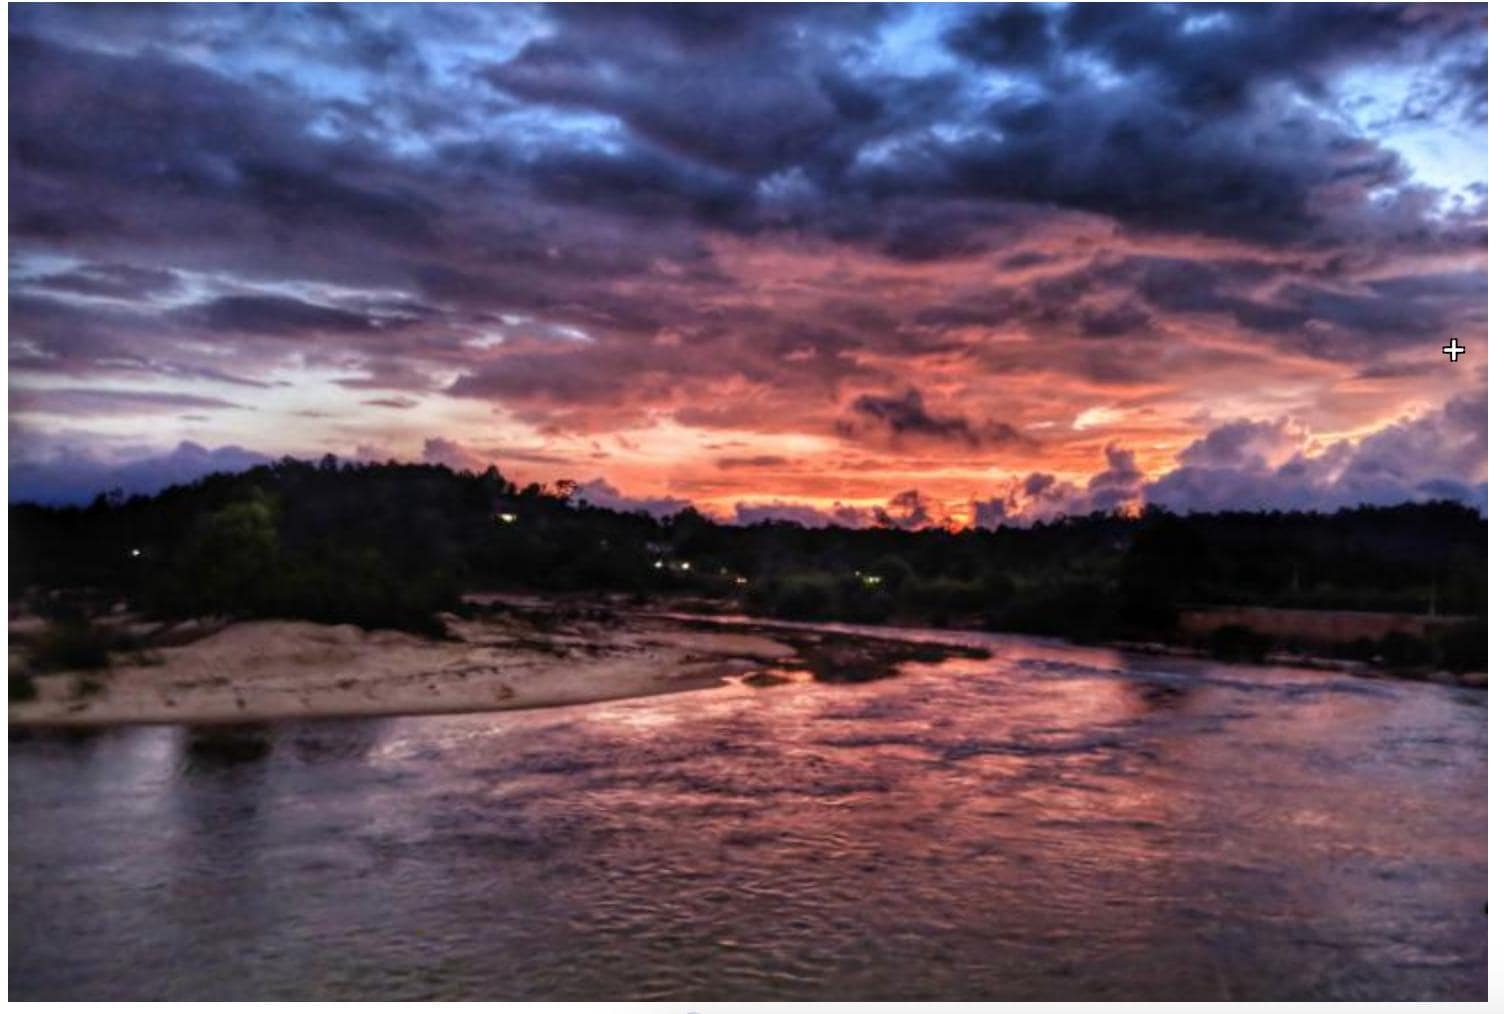
In the above image, I have moved the plus symbol to the right corner, so it crops the left portion of the image.
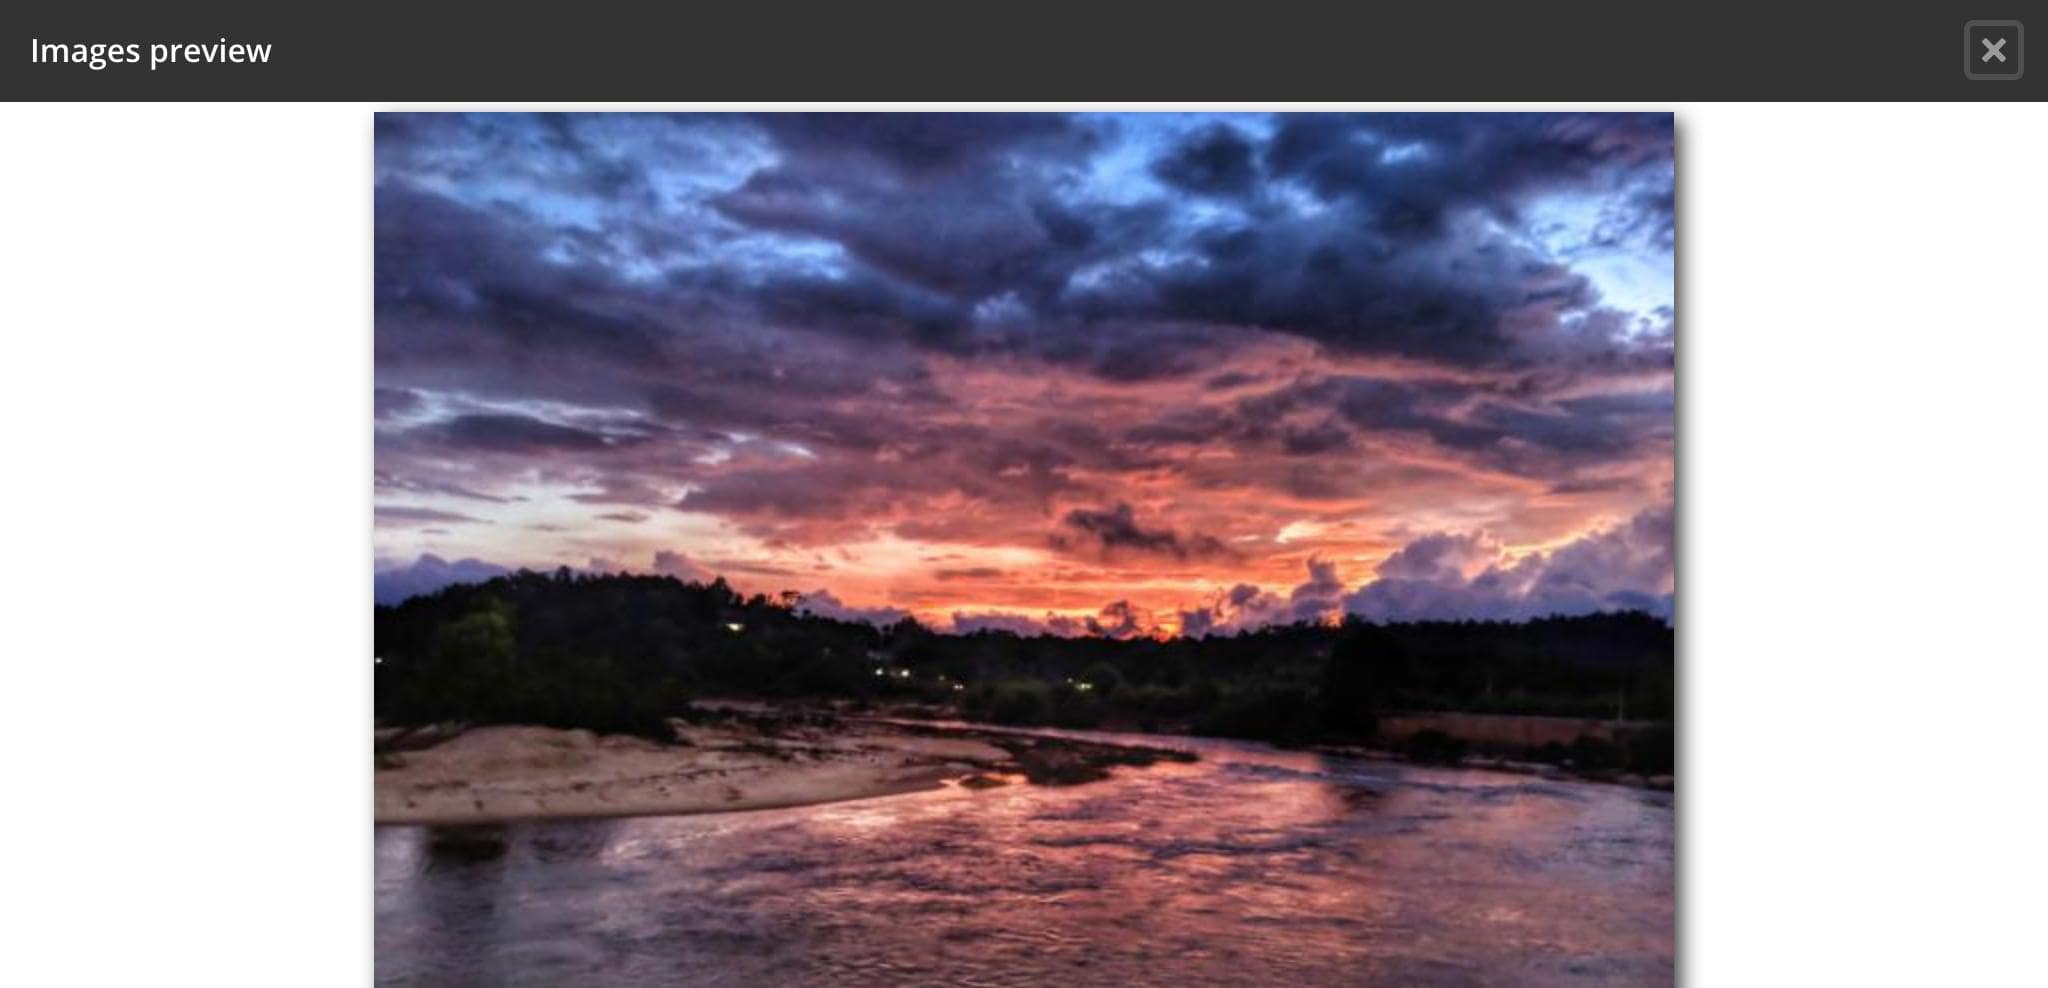
In the above picture, the left portion of the image is cropped by placing the plus(+) mark on the right of the image. This is how the drupal focal point module works.

Maithri Shetty
Related Insights


Don't Miss Out!


